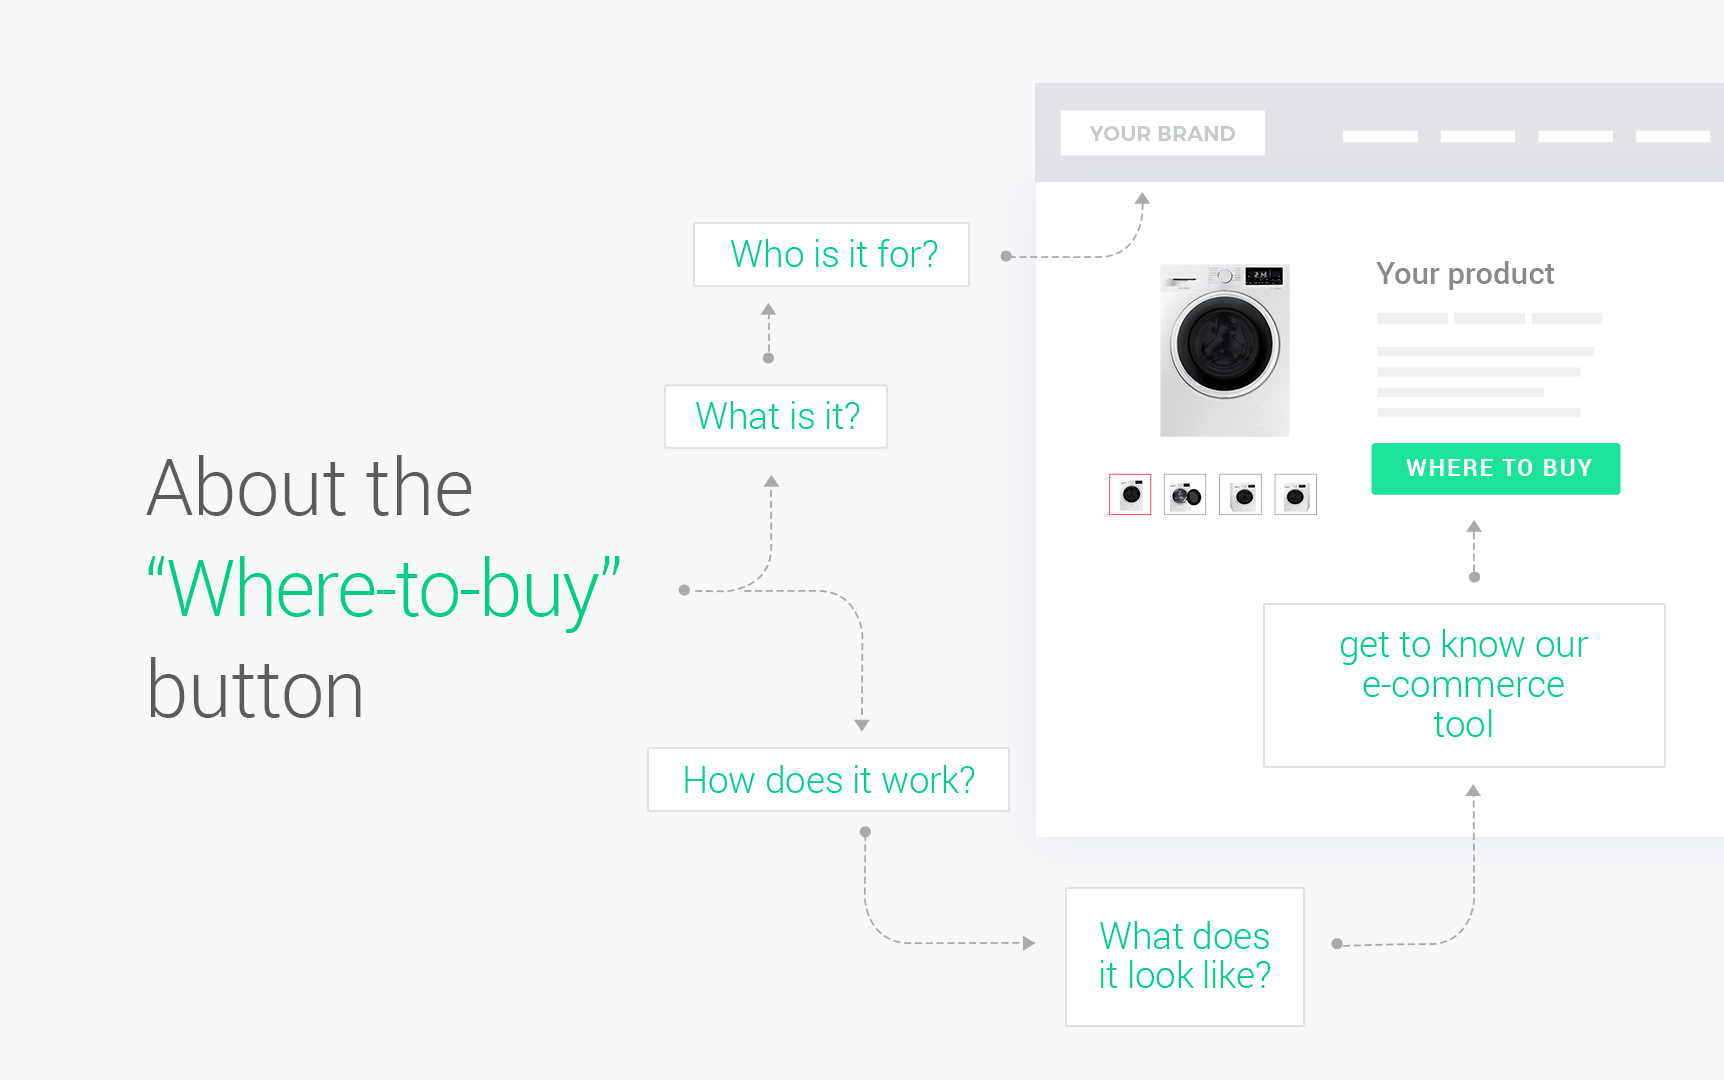
In our today’s post, we will take on the Where-To-Buy widget and show you how it looks on a website. Below you will find the essential information on how to configure the tool.
We will answer the following questions:
- What does a “where to buy plugin” mean and how does it work?
- Which layout to choose? Ready-to-use widget appearances.
- What are the available functionalities and settings?
What does a “where to buy plugin” mean and how does it work?
The term where to buy has been used in the e-commerce world for a long time. The solution takes the form of a simple widget added to the manufacturer’s website. It is located on every product page and suggests to visitors specific shops that carry their item of interest.
As a consumer, you have probably used the tool more than once by simply clicking on the “Buy online” button, which displays a list of stores. This is the way manufacturers provide their “brand followers” or those interested in purchasing the product with the best possible shopping experience.
Which layout to choose? Types of ready-to-use widget appearances.
The widget style and format is fully at the manufacturer’s discretion. You can choose from a number of scripts, which will land you the layout that suits you best.
- Default layout
The widget with a list of stores that is loaded together with the product subpage.

- Popover
A window that appears after clicking on a button tagged e.g. “Buy now”. It is a dynamic widget and also one of the most frequently selected layouts.

- Widget with store logos
Instead of the standard widget, we display a list of store logos. This form is used more often on landing pages for campaigns, where product pages contain lists of selected stores. The widget design is responsive so if there are too many offers to fit in one line, the rest of logos appear in the next one.

Basic settings and functions of the 100shoppers widget
After setting the appearance, let’s move on to configuring the tool from within the panel.
- Choosing stores
This is the first step you need to take after logging into your account. From the list of available stores, select which ones should be displayed on your website. - Assigning values to stores in the “display in order of importance” option
Setting the value in the “display in order of importance” option allows you to set the order in which stores should appear in your widget. If you want to set the weights for only 5 of the 10 selected stores, you can do so. Then set the value “5” next to the store that you want to always be displayed on the top of the list. Repeat the action for the rest of the stores. Stores that are not marked with any value will rotate by price. - Drop-down list of partners
When we cooperate with a larger group of partners and we intend to promote, for example three of them, we can use the drop-down list of stores. These three partners will always be visible on the product page, and only clicking on the “show more” button will display the full list of stores with available products. - Rotating groups of partners
This feature gives you many options to display stores on our site. Above all, it requires to rethink the strategy: what do you want to analyze with this particular sales channel.Sample variant:
You can choose to always display the main partner group. However, if these stores are out of particular stock, remaining stores from a different rotating group will appear.
Let’s assume you cooperate with 6 resellers. You can build, for instance, 3 groups of 2 stores, or 2 groups of 3. Additionally, within the same functionality, you can specify that a particular store will be displayed only when your partners have run out of desired products. It is a solution that has proved effective in building long-lasting partner relations. - Filtering by price
You can read about how to display offers in a given price range .
In this way, we have summarized the most important steps you need to take to start operating in the e-commerce market and make the most of the 100shoppers tool.


